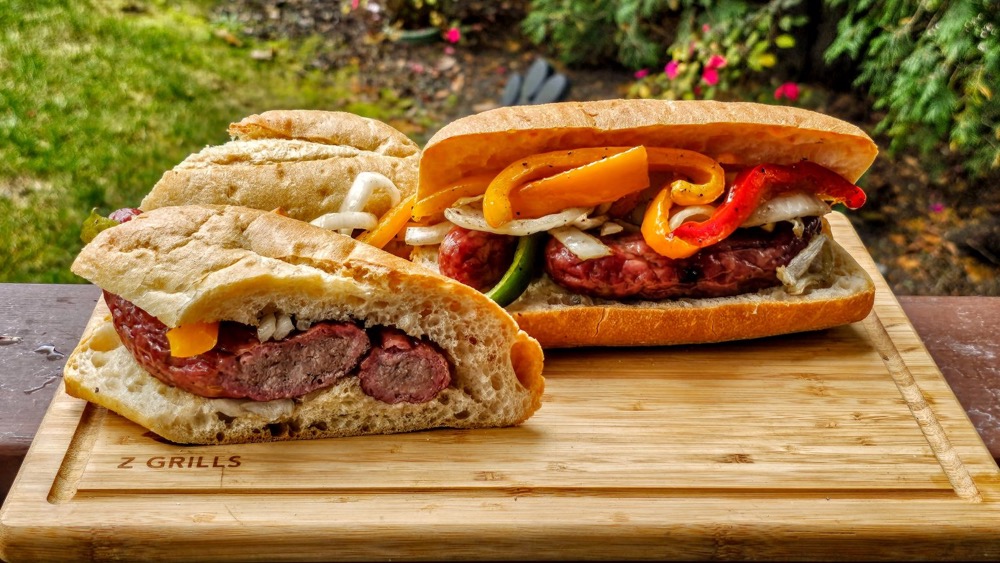
How to Smoke Ribs Right First Time
Select the Right Cut
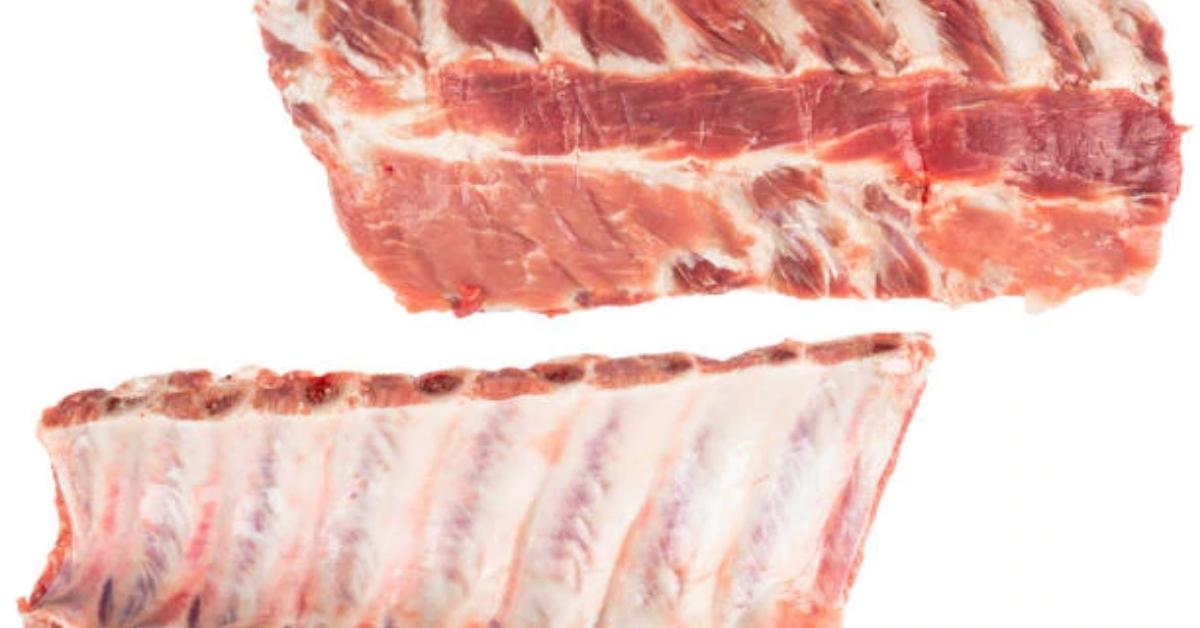
When it comes to smoking, the ingredients you use make a huge difference, and that means you need to select the right rack of ribs. When you go to the butcher or the grocery store, make sure you take a good look and choose ribs that have meat and fat evenly distributed over the bone. It’s fairly common to find ribs that have most of the meat on one side, especially if you’re on a budget, but this will lead to one side being moist and tender and the other being like jerky.
You also shouldn’t be afraid of choosing ribs with a good amount of fat on them. Fat helps your meat stay moist throughout the smoking process, which means you’ll get the delicious, tender ribs you’ve been hoping for. Look for ribs with around an 80-20 meat-to-fat ratio, though feel free to go fattier if that’s your preference.
If you get to the store and find all the ribs are uneven, with more coverage on one end, you can cut it in half and put the thinner half on the grill a little later on in the process.
Properly Prepare the Ribs
When you get home, don’t simply turn on your smoker and throw the ribs on the grill – they need some preparation, first!
Your first step should be to remove the membrane (also known as the “silver skin”) from your ribs. It’s that white, silverish coating that covers the ribs. If you leave this on, it will prevent a lot of the flavor from penetrating the meat and also tends to make it a little too chewy.
To remove the membrane, you simply slide the dull edge of a knife along between the membrane and the meat and pull it off gradually. It’s best to use a cloth or paper towel to hold the membrane, as it is often slippery. When your ribs are ready to go, they should be pale pink with some white.
Next, you can apply your rub. Your rub will vary depending on the recipe you decide to use. You can find our complete list of pellet grill recipes here, but two of the recipes you’re most likely to use are Smoked Beef Ribs or Smoked Baby Back Ribs. For best results, season the bone side first and give it 5 minutes to sit before you flip it over and season the meat side, and do your best to evenly distribute your rub.
Also, if you’re preparing more than one rack, don’t stack them on top of each other after you’ve prepared them – it sounds obvious but it’s a small thing that can undo all your work.
Use the Right Pellets
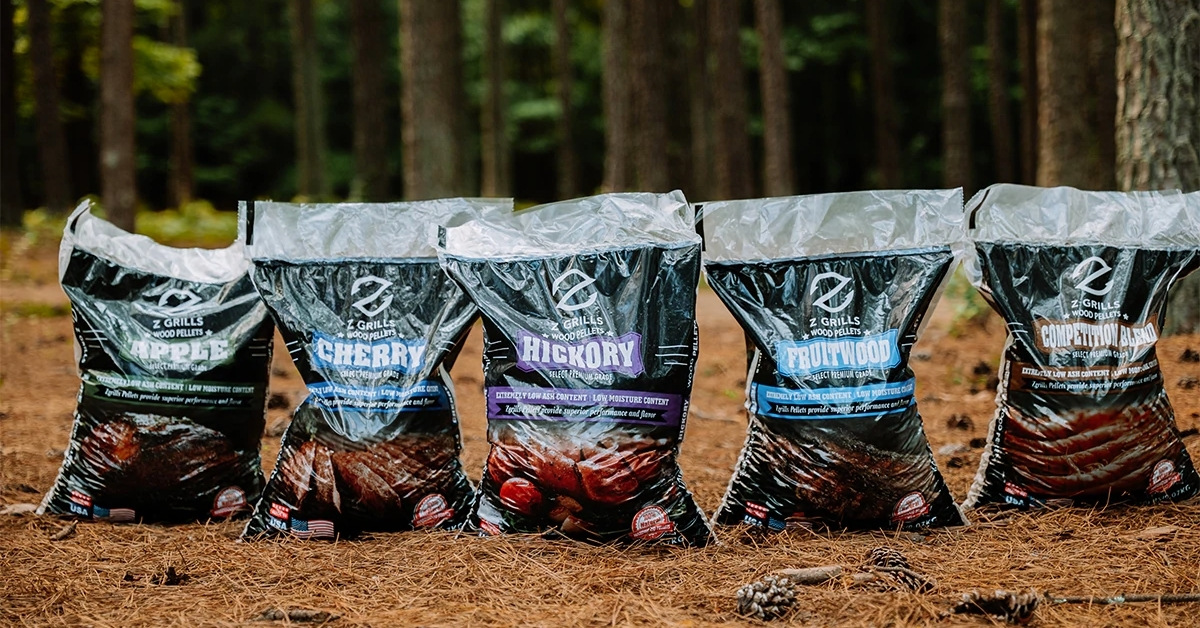
You don’t have to simply choose standard wood pellets, you can choose wood pellets that will enhance the flavor of your chosen recipe. We offer pellets in Fruitwood, Apple Pellet, Competition Blend Pellet, Hickory Pellet, and Cheery Pellets, besides our standard wood pellets, so don’t be afraid to mix it up and experiment.
Decide on Your Desired Texture
Do you love eating ribs where the meat falls off the bone and melts in your mouth, or do you prefer something with a little bit of chewiness? You need to decide on this next, as it will change how you cook your ribs.
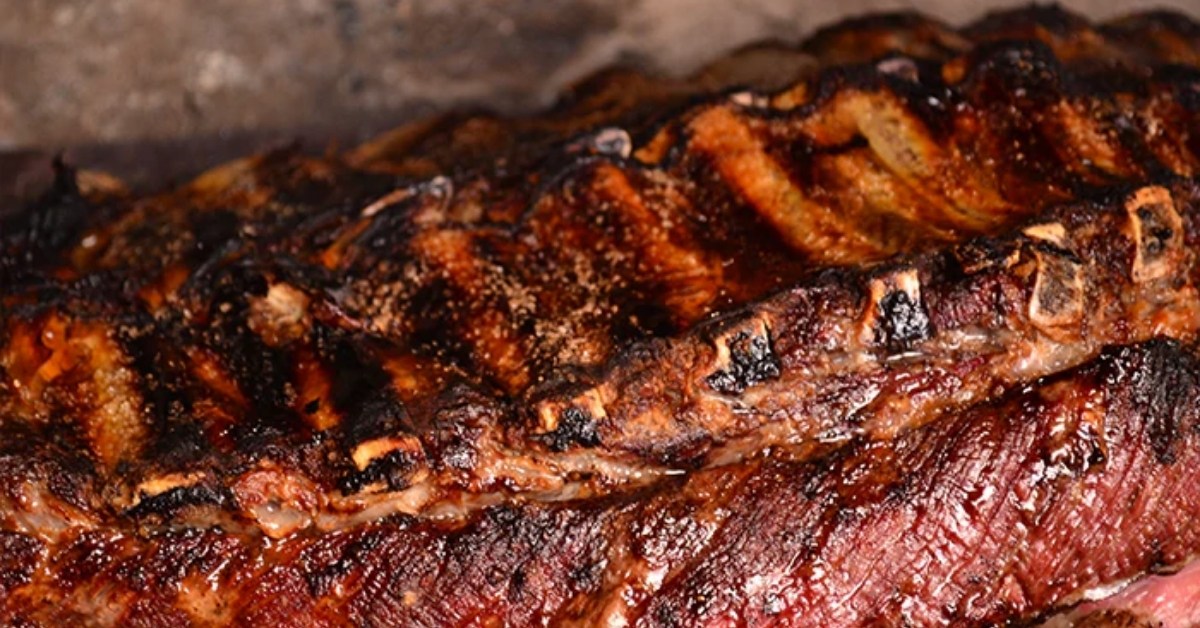
For most, a little chewiness is fine, or preferable, so cooking your meat uncovered at a low temperature for the entire time it’s on the grill will give you a great texture and a delicious flavor. Simply follow the recipe instructions for time and temperature, but in general, 225-250F is about right.
If you prefer melt-in-your-mouth meat, try the smoking ribs 3, 2, 1 Method. To do this method, smoke your ribs uncovered for 3 hours at 225F. Then remove them and wrap them in aluminum foil with just a little liquid in the bottom (about 2-3 tablespoons of water, or something with flavor). Grill for another 2 hours. Finally, unwrap it and grill it for a further hour.
Remember You’re Smoking, Not BBQing
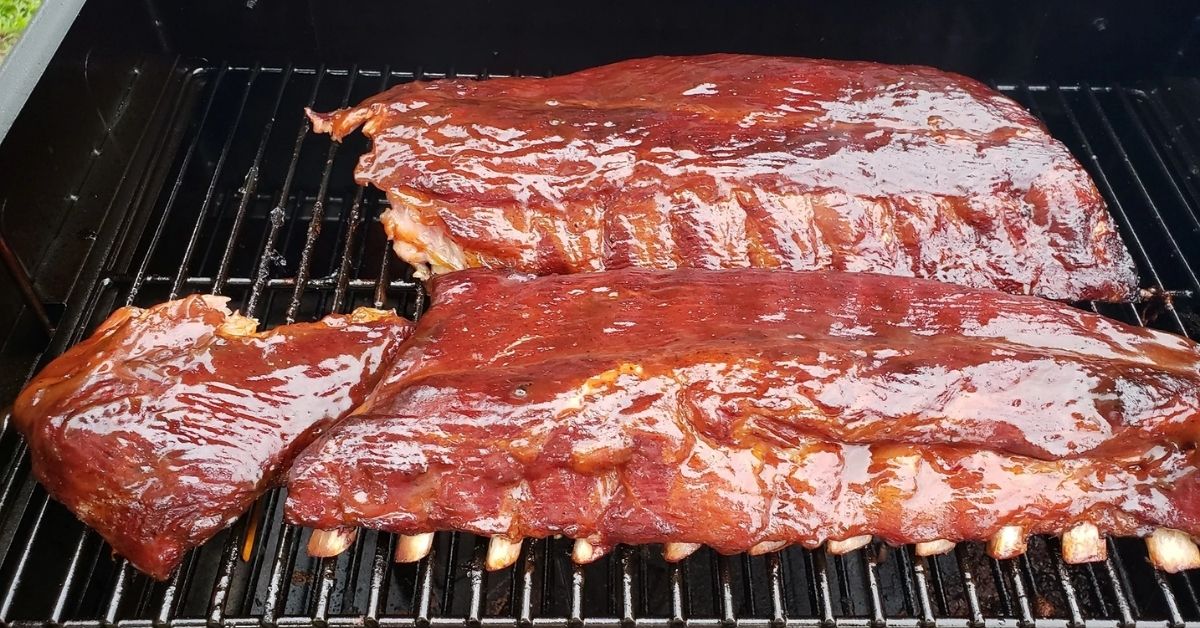
This may seem like a strange distinction, but it’s an important one. You’ve likely seen a friend barbequing and getting a little over-enthusiastic with the fire, which results in slightly charred meat. When you’re only cooking meat for a short time, you can get away with this for the most part, but that’s not the case for smoking. Your ribs (or any other cut) should not be cooking over a direct flame. If you’re using a modern grill, like our Z Grills, this won’t be a problem, but it is something to keep in mind. Remember, smoking is a marathon, not a sprint, and maintaining a constant, low temperature is essential.
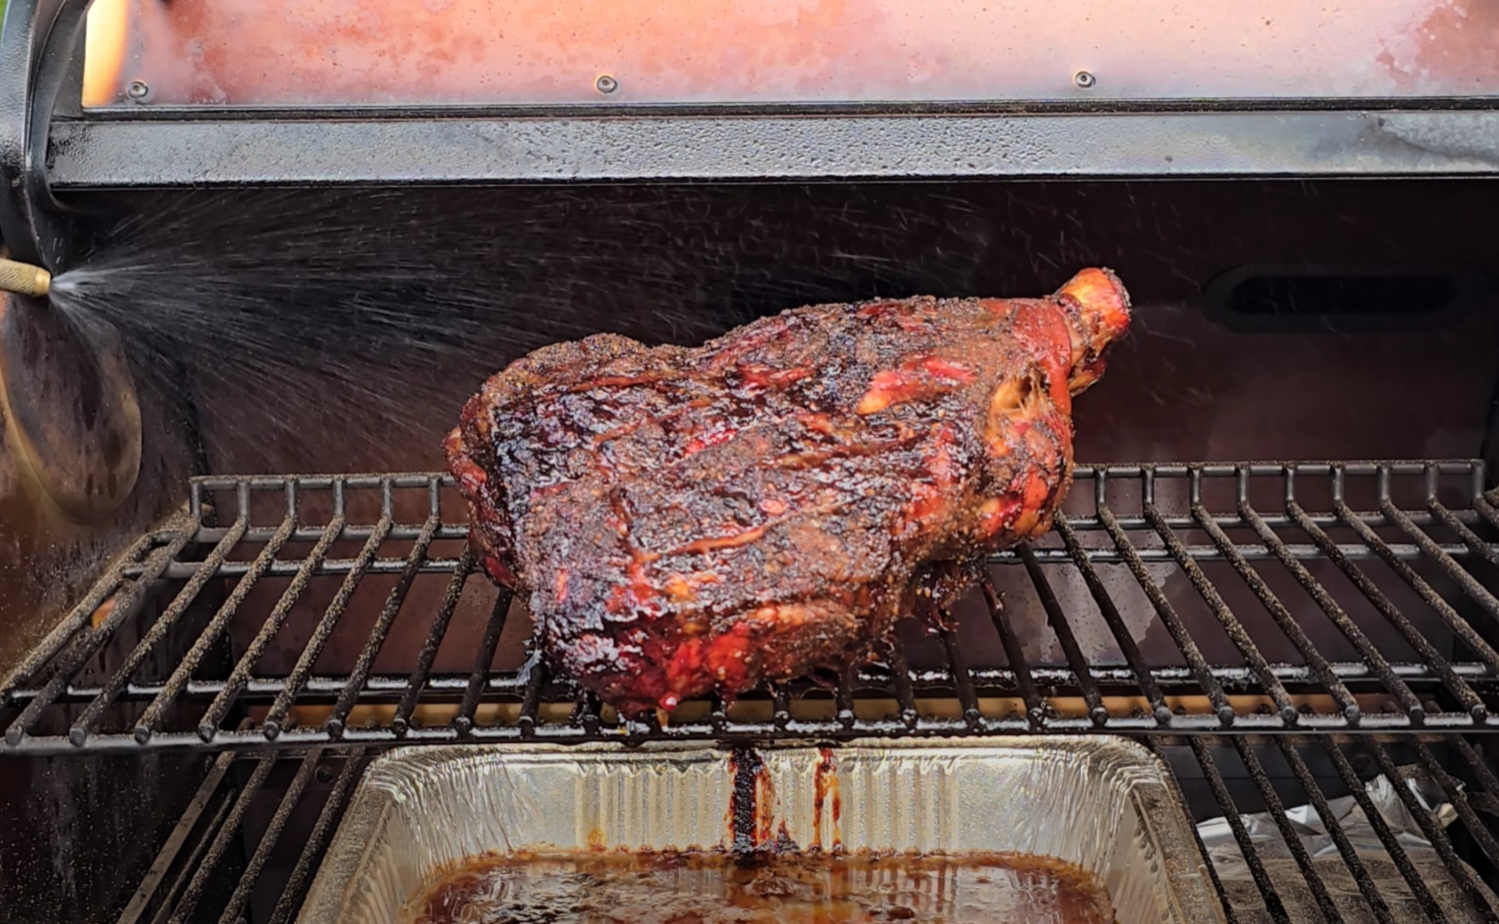
Place Your Ribs Bone-Side Down
For the best flavor, make sure you place your ribs with the bone side touching the grill, and the meat looking up at you. This will ensure the flavor penetrates the meat evenly, and all your rub or marinade flavors seep into the meat as it cooks.
If You Like Ribs Moist, Spray Every Hour
This is an optional step but is worth doing if you’re a beginner and don’t want to do the 3, 2, 1 method, but still want to ensure your meat is moist. Take a spray bottle of liquid (apple juice works well, but it depends on what flavor you’re going for) and spray the ribs every hour. You just need to spray them enough to give them a sheen so there’s more moisture in the grill.
If you’re not using a grill that maintains the temperature for you, as our Z Grills do, then make sure you keep an eye on the temperature as constant dips in temperature can be your downfall. If that’s the case, don’t worry about spraying, and just give it a try without spraying first.
Learn to Assess When You’re Ribs Are Done
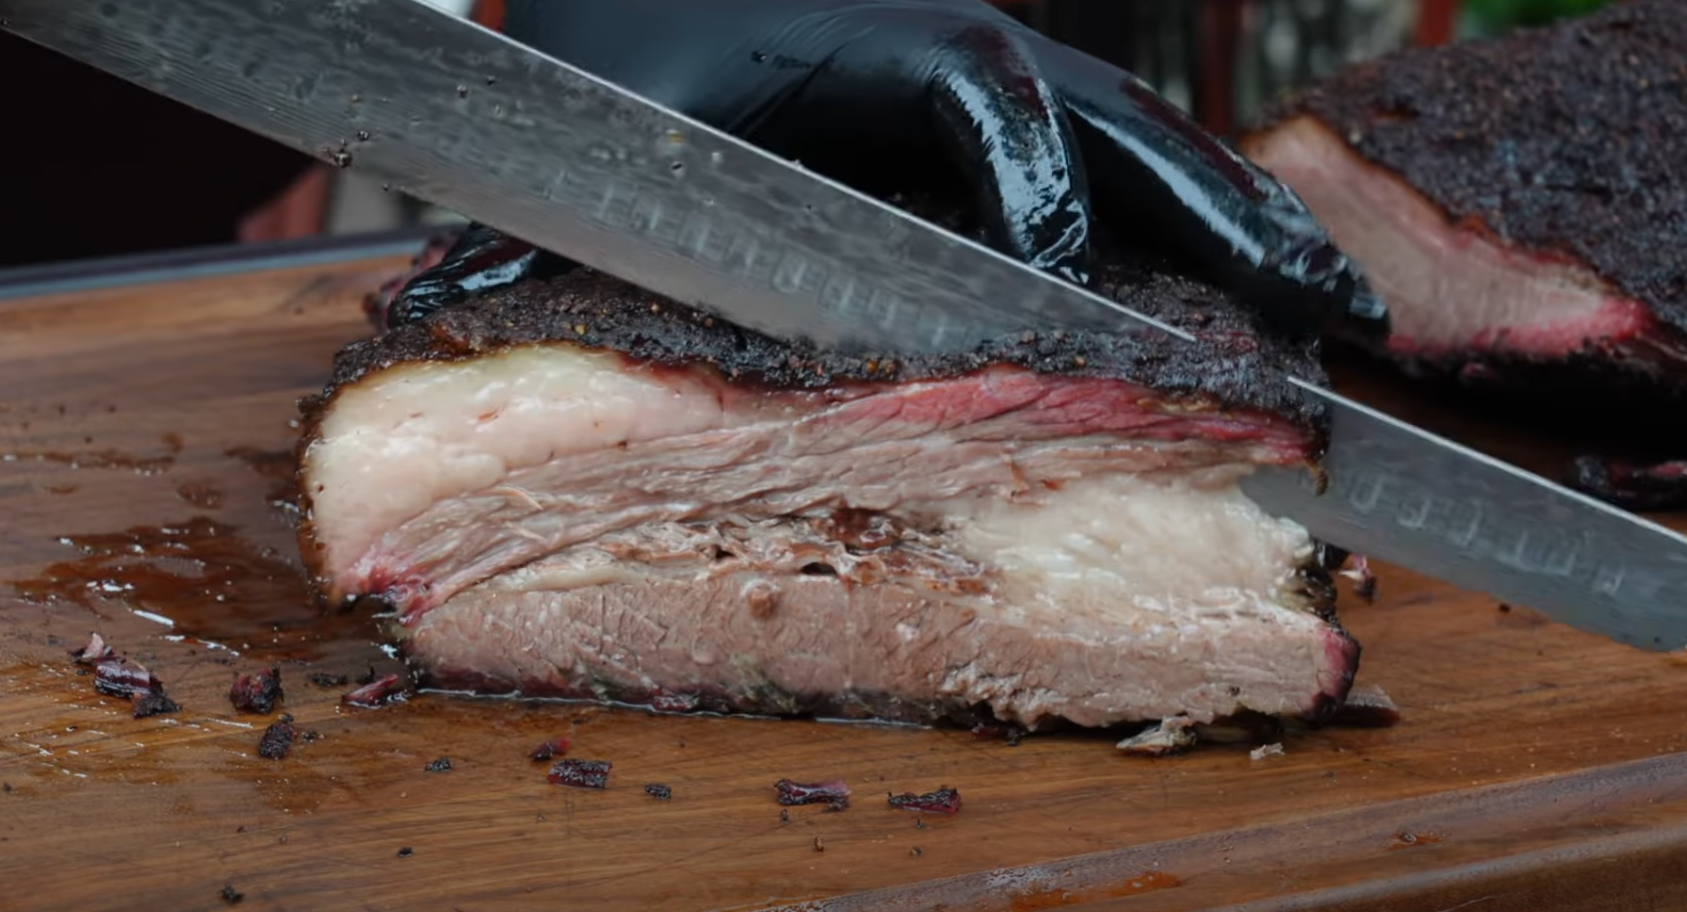
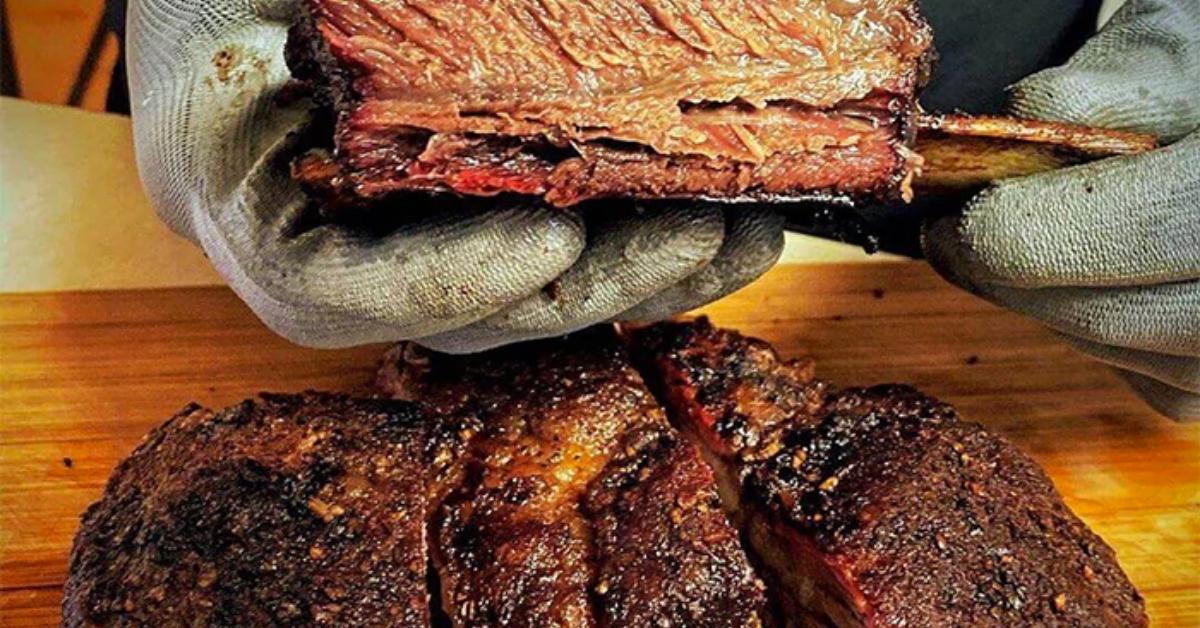
You can follow your recipe closely for good results but try to start learning how to assess when meat is done on your own, as that will help when you try more advanced cuts. Beef ribs are done when the internal temperature reaches 145F, and pork ribs are done at 160F, but it’s best to also know by how it looks at feels.
When you test the internal temperature, feel how easily the probe slides in. If it slides in easily, that’s a great sign, and you can check the temperature for further confirmation. Also, look at the color of the outside, and you can even pull your probe around a little bit to look at the inside. If it all looks good, pick up the ribs in the middle and see if they sag a little. If they have a little give, then you’re ready to go.
Use the Right Equipment
We’ve left this for last, but if you’ve got time before you start smoking your ribs, you should consider what equipment you’re using. You can “make do” with what you’ve got, but you’re likely to end up with food that tastes charred, burnt, or even a little chemically. There are grills that make smoking easy and pleasurable, and there are others that make you wish you’d never started. Make sure you have the former!
If you’re not sure what type of grill to invest in, the majority of experts and beginners will tell you to go with a pellet smoker. As we touched on briefly earlier, pellet grills are designed to perfectly manage the temperature, which is absolutely key in grilling successfully.
Pellet grills are generally set-them-and-forget-them, which means you can put your ribs on the grill and go about your day, or even go to bed! The pellets give your food a smoky flavor that’s perfect every time, and we have plenty of different flavors to choose from. Our Z Grills are affordable, long-lasting, and extremely beginner friendly, so they’re the perfect pellet grill.

Smoked Prime Rib
Equipment
- Z Grills Pellet Smoker
Ingredients
- 1 prime rib at room temperature
For herb seasoning:
- 3 cloves minced garlic
- 1 tsp rosemary
- ½ tsp ground black pepper
- 1 tsp salt
- ½ cup olive oil
Instructions
- Preheat the pellet smoker to 225 °F.
- Combine the garlic, rosemary, pepper, and salt in a bowl.
- Add olive oil and combine.
- Pat the prime rib dry with kitchen down and using your hands or basting brush, spread the rub all over the prime rib.
- Place the prime rib bone-side-down on the grill and close the lid.
- Check the internal temperature every hour once it’s been on for a few hours.
- When it reaches temperature, remove it from the heat, let it rest for 20 minutes, and serve!